
How to Correctly Align Beer Tap Handles
Properly aligning your beer tap handles not only enhances the aesthetic appeal of your setup but also ensures functionality and longevity. Follow this guide to perfectly align and secure your tap handles for a professional finish.
Tools You’ll Need:
• Adjustable wrench or pliers (optional)
• Thread adapter (if needed for non-standard fittings)
• Thread tape (optional for extra grip)
Step-by-Step Instructions:
- Check the Thread Size
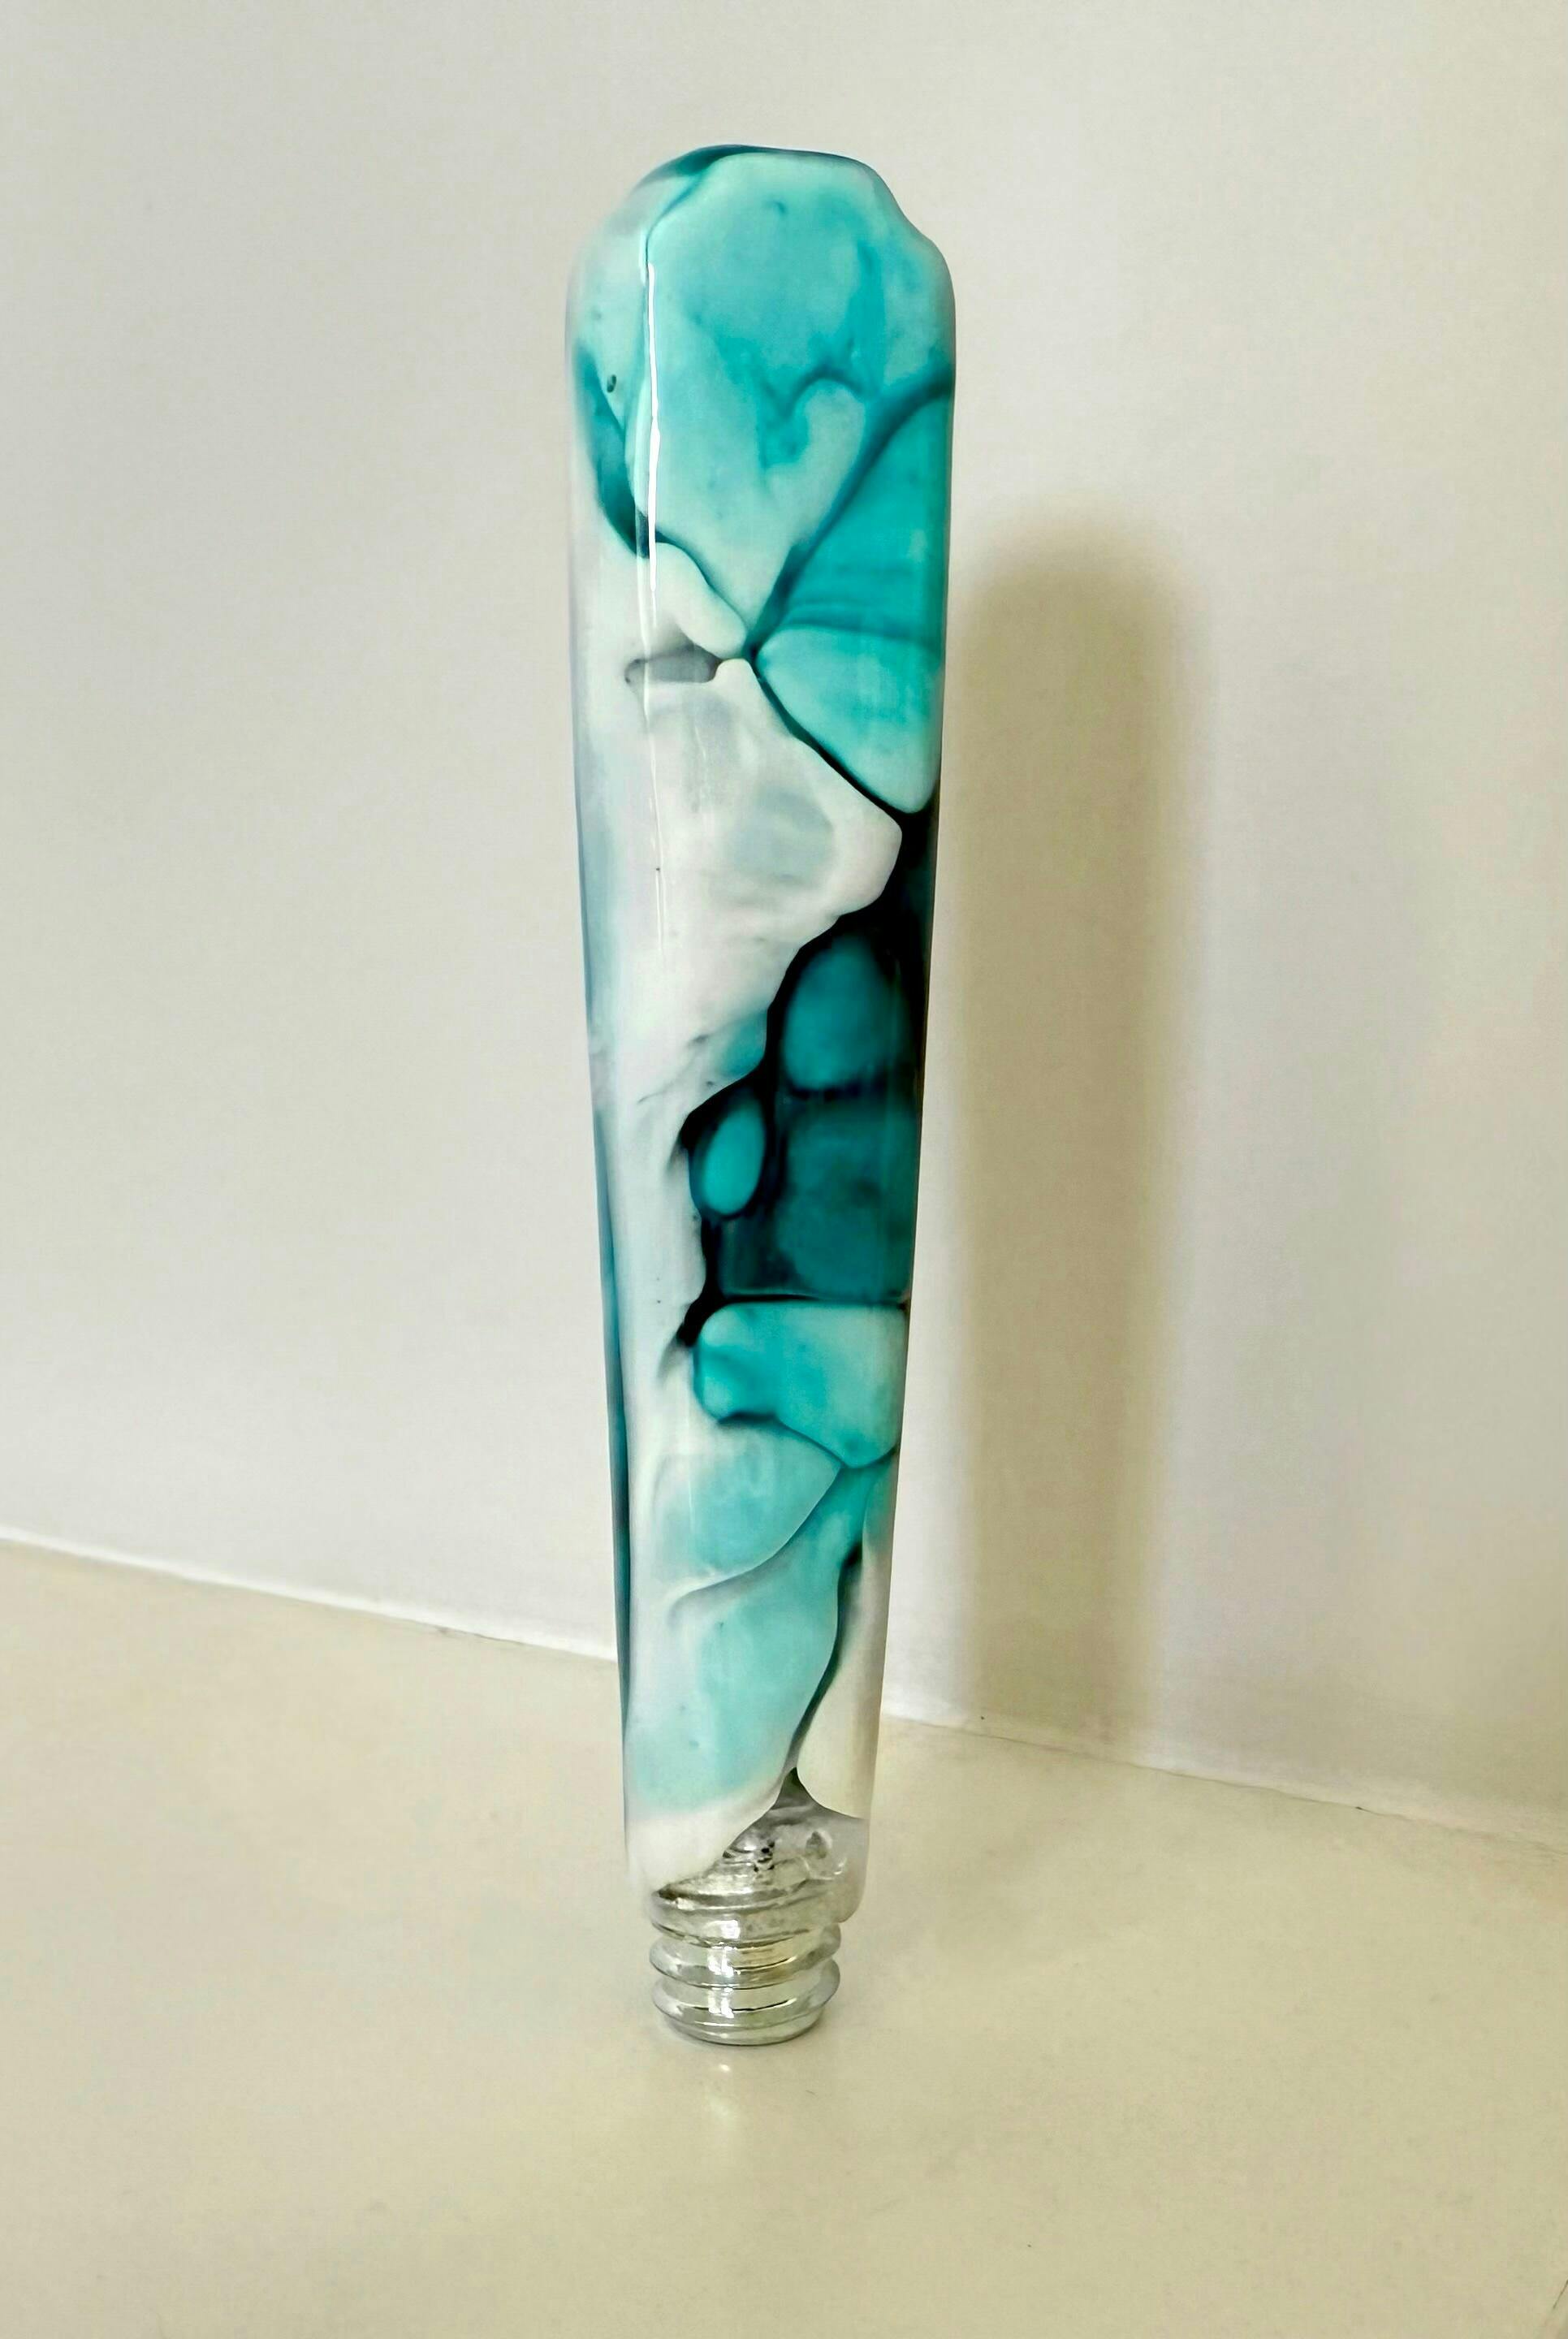
Unless a special thread size is requested, all LA Resin Art beer tap handles are fitted with standard 3/8"-16 UNC threading. Before installation, confirm that your faucet and tap handle threads match. If not, you may need a thread adapter. - Hand-Tighten First
Screw the tap handle clockwise onto the faucet. Do not overtighten— this step is to test how the handle naturally aligns. - Align the Handle
If the tap handle doesn’t face forward or in the desired direction, slowly rotate the handle counterclockwise (loosening) until it’s aligned properly. - Lock the Position
Once properly aligned, hold the handle in position and tighten the lock nut up against the base of the handle. This will lock the handle in place without over-tightening it.
Optional Adjustments:
If the alignment is still a bit off, you can use:
• A nylon washer between the handle and faucet for micro-adjustments.
• Teflon tape on the threads to add slight resistance.
Why Use a Lock Nut?
• Prevents over-tightening the tap handle
• Allows fine-tuning of the front-facing position
• Secures the handle without damaging threads or the handle itself